
Tree Ring Paintings
Looking for an easy, low-mess painting project for kids that’s both magical and educational? Try these tree ring paintings made with washable markers and water. This nature-inspired art activity is one of our absolute favorites—and it’s especially great for little artists who may not have access to traditional paints and brushes at home.
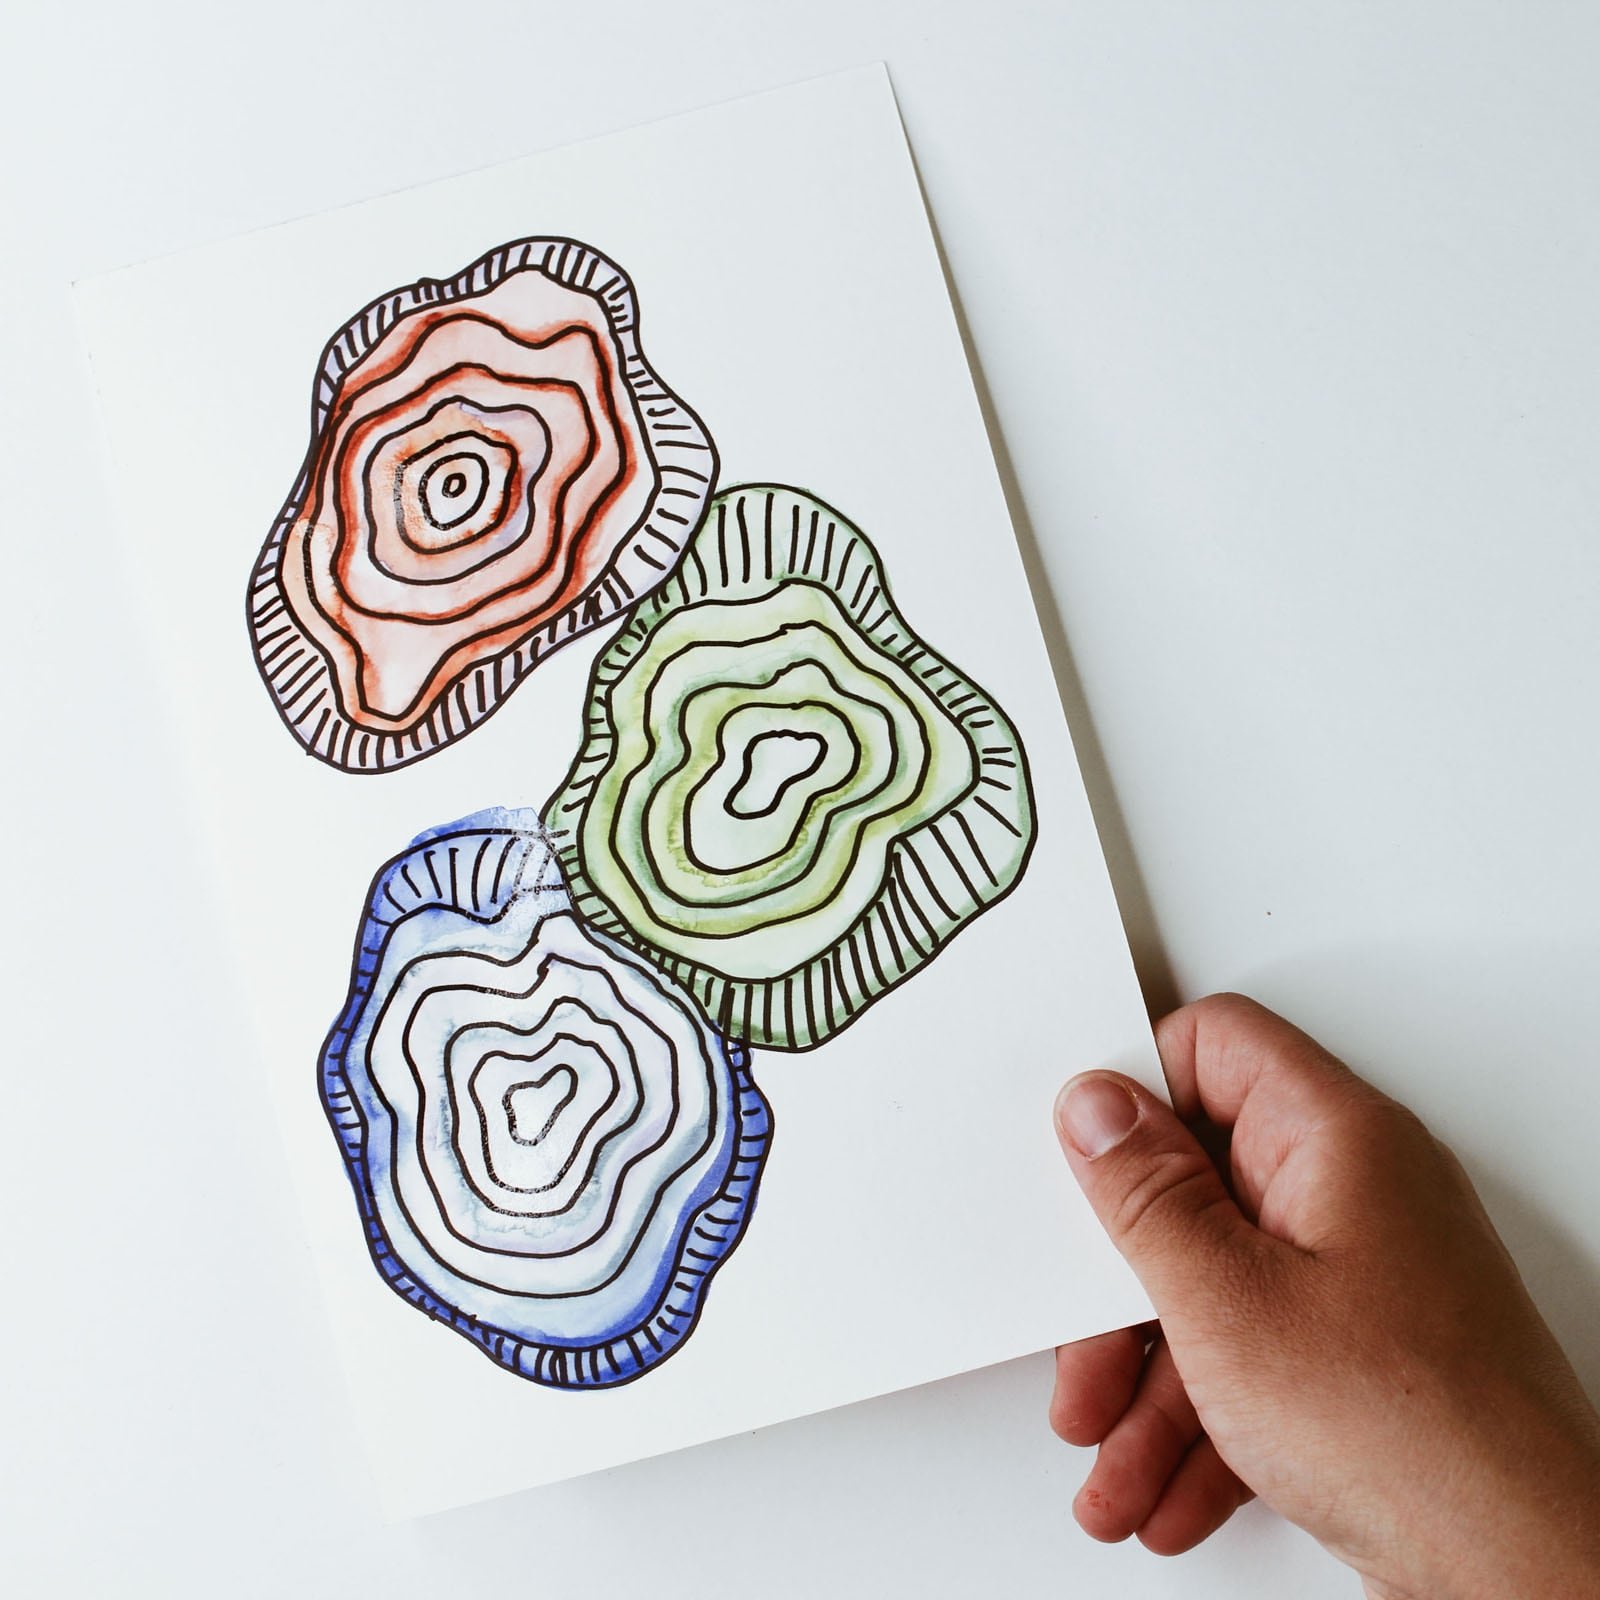
Using a simple marker painting technique, kids can create beautiful tree stump artwork that mimics the rings found inside a tree. It’s a wonderful way to combine creativity with a bit of natural science!
It would be a perfect tie-in to lessons about trees, forests, seasons, or earth science.
Read on to see how we made them.


Supplies:
Heavy drawing paper (watercolor paper works best)
Permanent marker
Washable markers (Crayola or similar work great)
Paintbrush or cotton swab
Small dish of water
Placemat or tray (optional, but helpful for protecting surfaces)
Directions:
Draw your tree stumps.
Use a black permanent marker to draw uneven circles on your paper—these will be your tree stumps.Add the growth rings.
Draw a small circle in the center of each stump, then add rings radiating outward, just like you’d see in a real tree cross-section.Include texture and details.
You can get creative with patterns or textures in the outer rings to give each stump character.Trace the rings with washable marker.
Trace over each ring with washable marker. Don’t fully color in the spaces—just draw the lines.Activate the color with water.
Dip your paintbrush or cotton swab into the water and gently brush over the marker lines. Watch the washable marker turn into paint!
Extend your learning:
Talk about how tree rings show the age of a tree and what environmental factors might cause thicker or thinner rings.
Compare your drawings to real images of tree cross-sections.
Use this craft as part of a tree life cycle or forest unit study.